Devices
Devices represent the core components of your smart home — such as lights, thermostats, sensors, or virtual integrations like Home Assistant. Each device is made up of one or more channels, which define what the device can do or monitor.
Add a New Device
Open the Admin UI
Open the Admin Interface in your browser:
http://smart-panel.localYou’ll see the dashboard where you can manage devices, channels, properties, and pages.
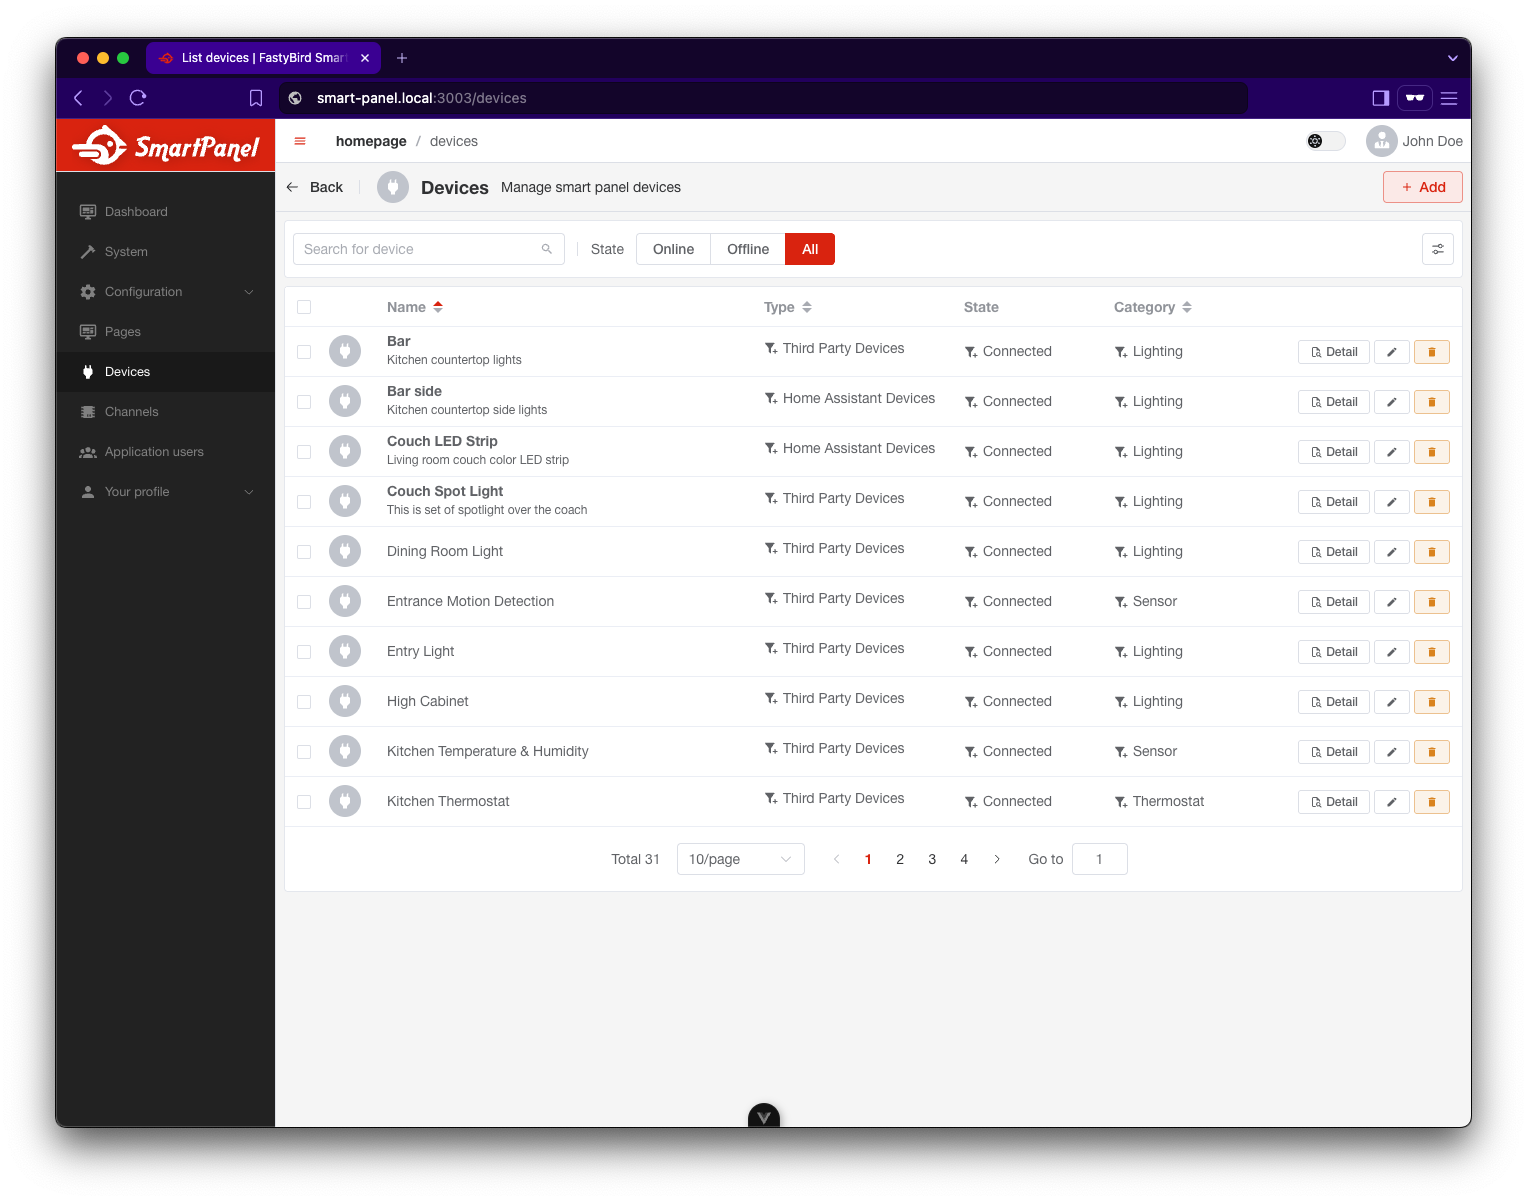
Navigate to Devices
Click Devices in the sidebar. Here, you’ll find a list of all currently connected or created devices.
- You can create a device manually.
- Or you can wait for an integration (like Home Assistant) to auto-discover devices.
Click + Add
Navigate to the Devices section and click the + Add Device button in the top-right corner.
This will open the device creation dialog.
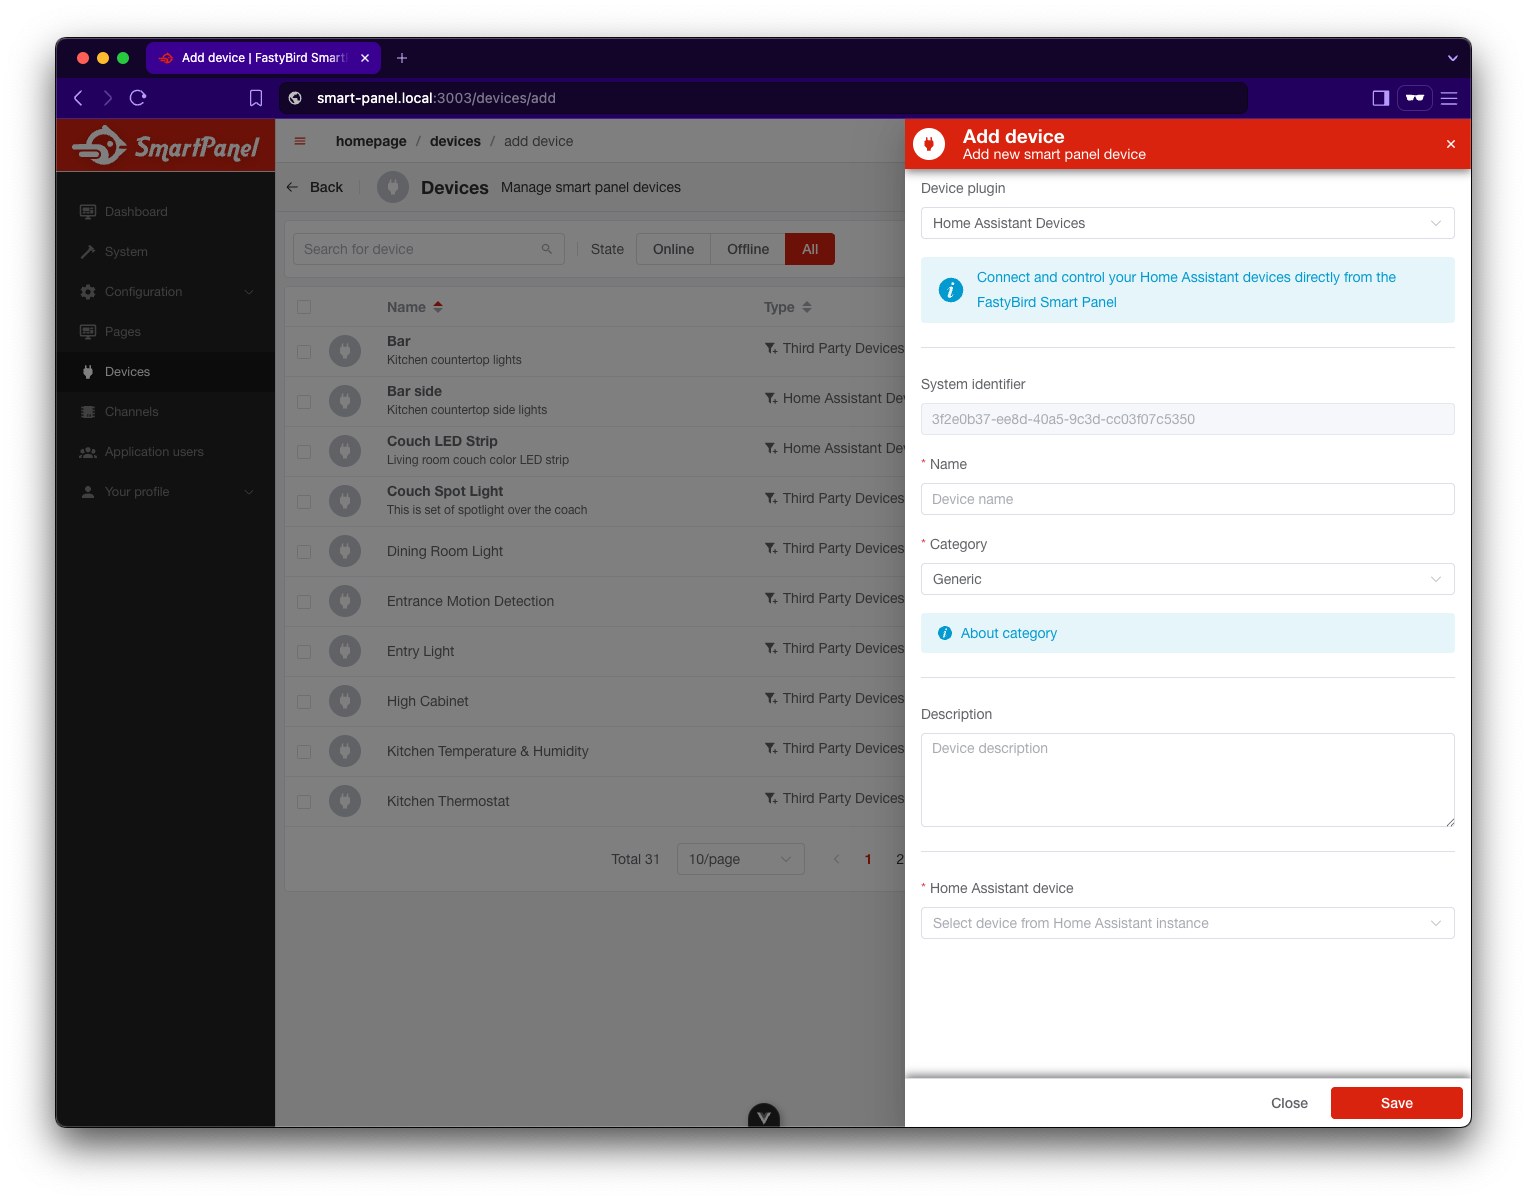
Select Device Type (Plugin)
Choose the source for the device — this defines how the panel communicates with it. For example:
- Third-party for manually created devices
- Home Assistant for devices synced from your HA setup
- Matter, Zigbee, (will be added soon)
Fill in Device Details
Enter the basic information:
- Name – Friendly display name (e.g., Living Room Lamp)
- Description (optional) – A short note about the device
- Category – The device type, like light, thermostat, or camera
Device categories and their required channels are defined in the System Architecture section. Each category defines the expected capabilities of the device.
After Creating a Device
Once your device is created, you can:
- Add Channels: Define which parts of the device you want to control or monitor.
- Place It on a Page: Use the Pages section to visualize the device on your display.
What’s Next?
Now that you’ve added a device, let’s explore how to configure its Channels.
👉 Head to the Channels section.