Tiles
Tiles represent the visual blocks on your Smart Panel screen — each tile displays data from a device or allows interaction, like toggling a switch or setting brightness.
Tiles are placed within Tiles Pages or Cards Pages and are linked to specific devices.
Add Tiles to a Page
Open the Admin UI
Open the Admin Interface:
http://smart-panel.localGo to the Pages section to view your smart panel layouts.
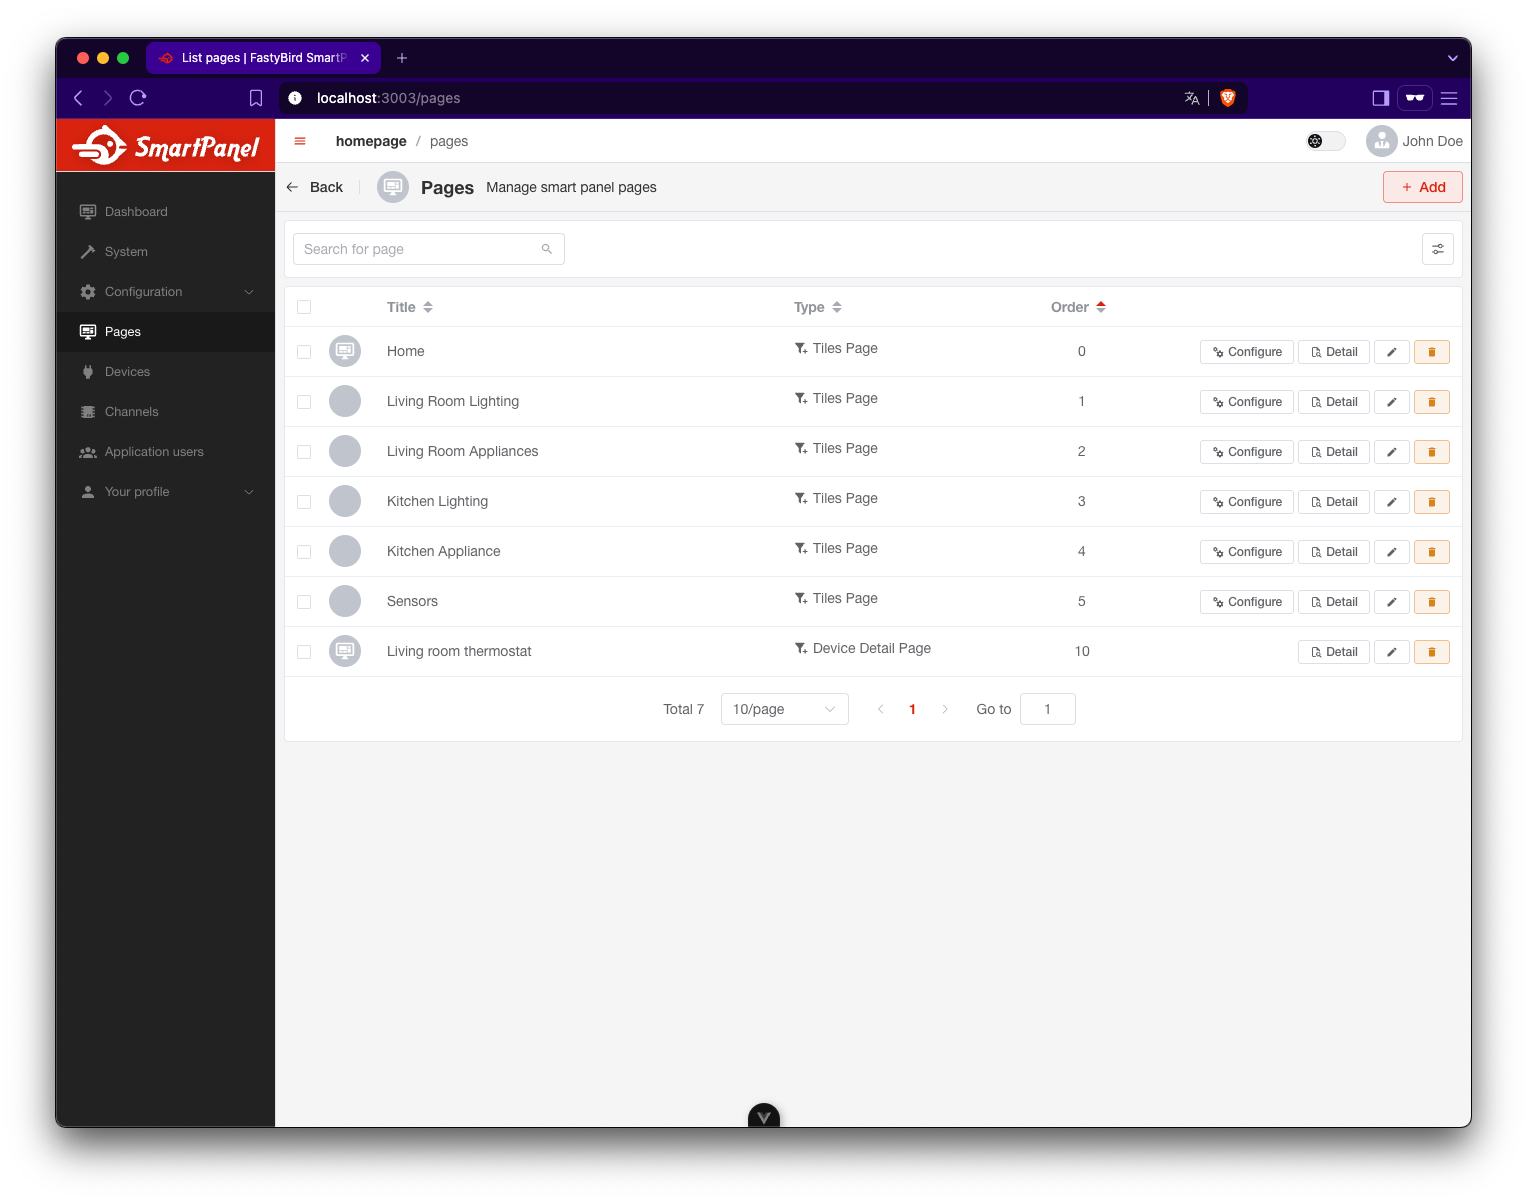
Click “Configure” on a Tiles Page
In the list of created pages, locate a Tiles Page and click the Configure button next to it.
This opens the tile layout editor where you can add or rearrange tiles.
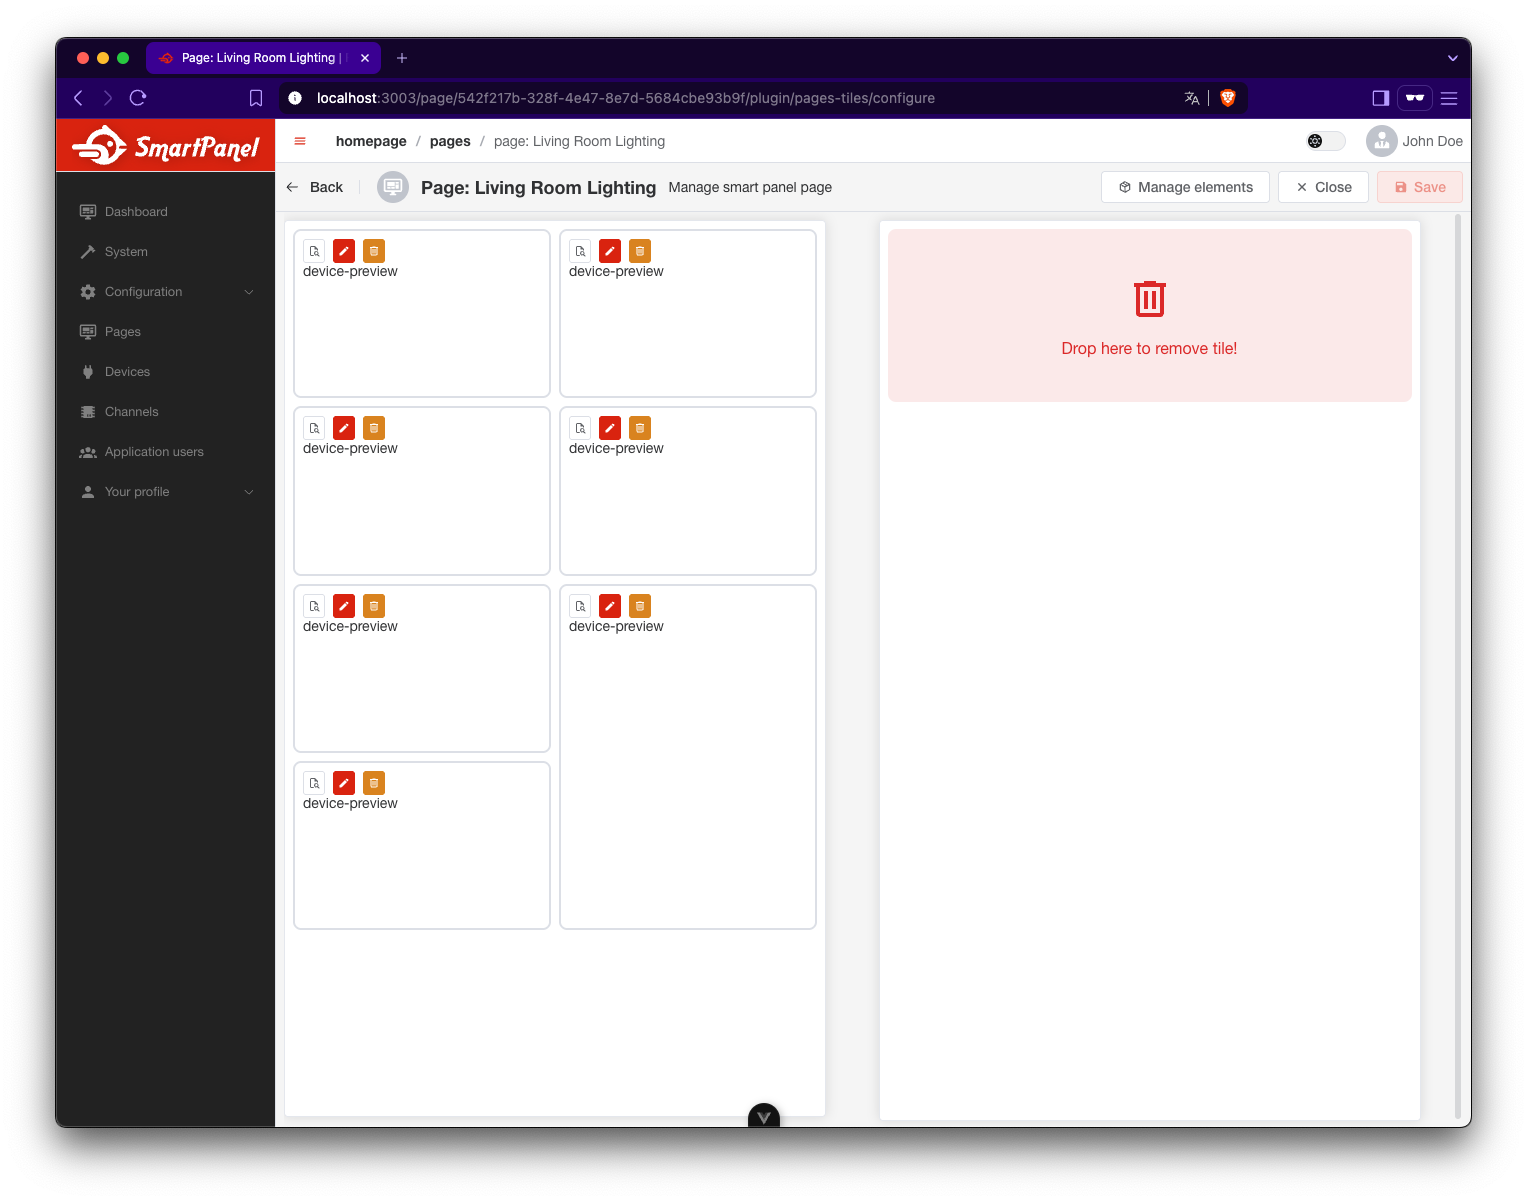
Add a New Tile
Click the + button in one of the empty grid areas to add a tile.
A form will appear on the right side.
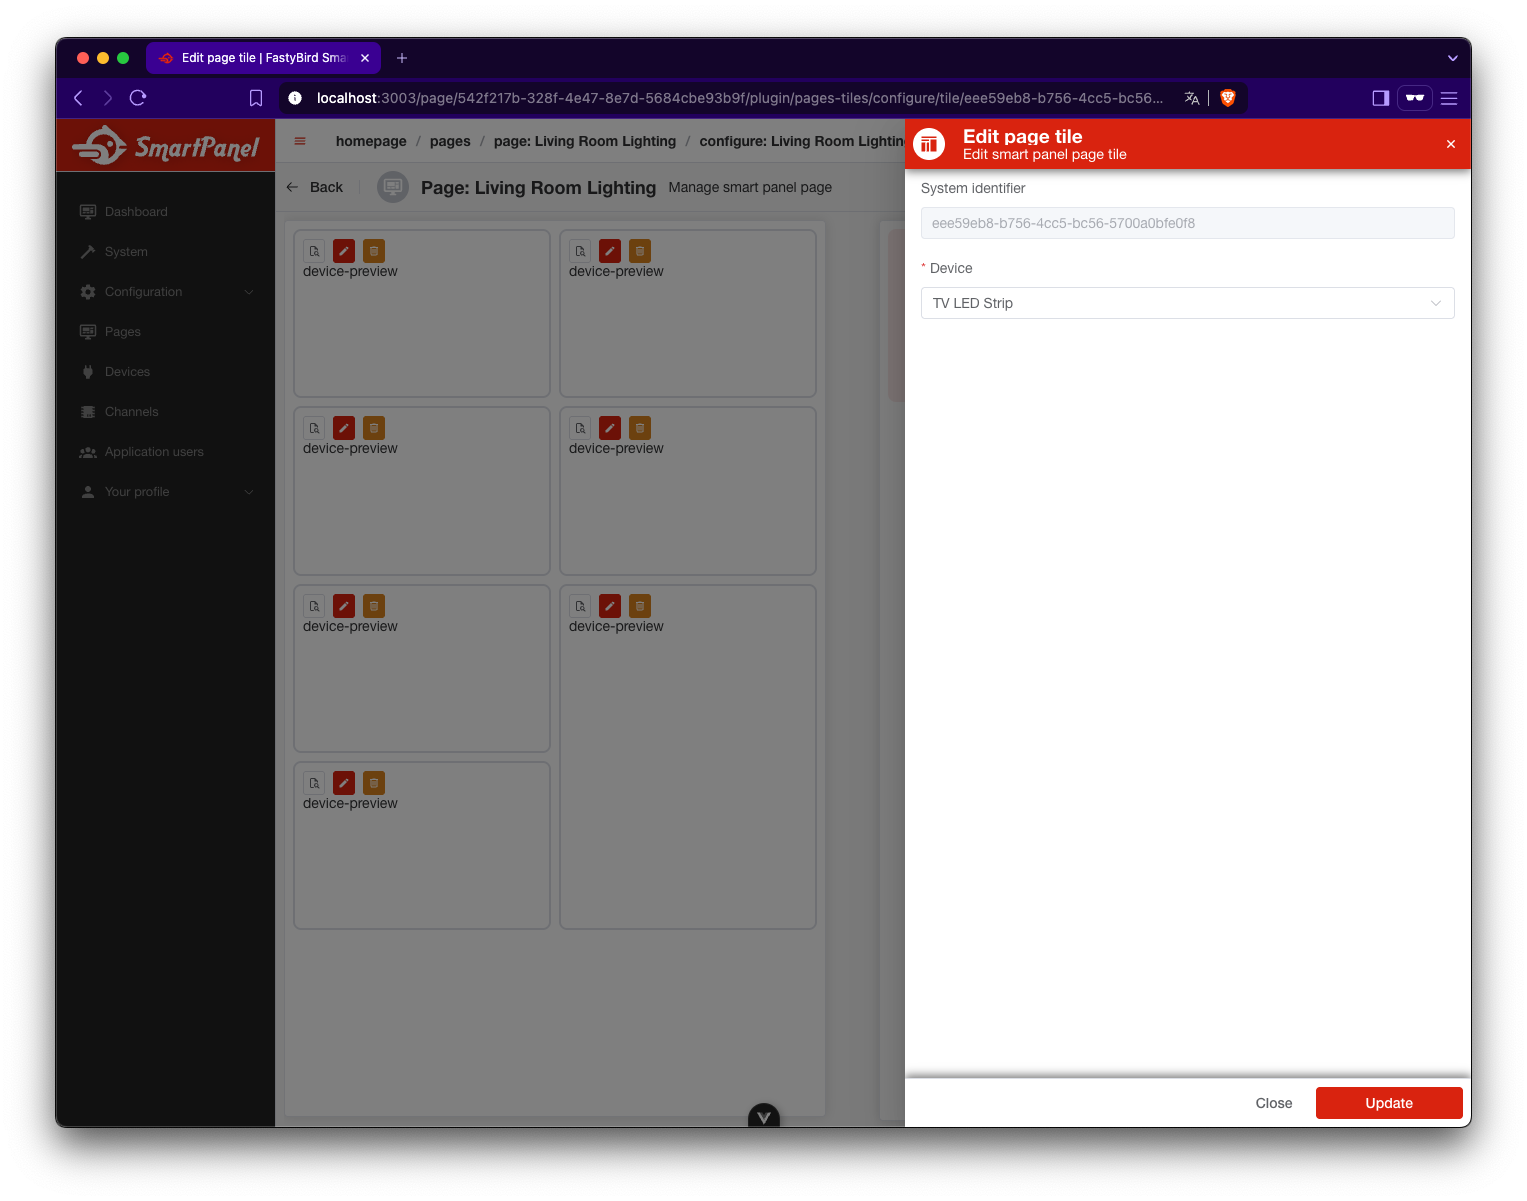
Fill in Tile Details
- Depending on the selected tile plugin, different configuration fields may appear.
For example, you might be asked to:
- Select a device the tile will represent
- Choose how the tile should behave or what data it should show
The system uses the selected tile plugin to generate the appropriate configuration form. Plugins may offer different options depending on their purpose.
After filling in the required information, click Save to add the tile to your layout.
Rearranging or Removing Tiles
- You can drag and drop tiles to reposition them on the grid.
- To remove a tile, drag it into the red “Drop here to remove” box on the right side.
After Adding Tiles
Once tiles are configured:
- They will appear on your Smart Panel display in the same layout as in the Admin UI.
- You can revisit the configuration at any time to rearrange or remove them.
- Tiles dynamically reflect the state of your devices and allow quick control actions.